How To Fix An Electric Snow Blower
If your driveway is bogged down with a fresh drift of new-fallen snow, it is a serious hassle to find out that your electric snow blower isn’t throwing snow as it should. Luckily, there are a few ways to fix an electric snow blower that won’t throw snow.
Below you’ll find a troubleshooting guide to the most common issues leading to electric snow blower problems. It’s a good idea to get your owner’s manual before you start working on your machine. Read on to learn more about why an electric snow blower won’t throw snow and how you can fix it.
Reasons An Electric Snow Blower Won’t Throw Snow
One of the biggest challenges with fixing an electric snow blower that isn’t throwing snow is that there are several different potential causes for the issue. This means that you’ll need to look at some secondary symptoms and do some visual inspections of the snow blower to figure out which part of the machine is the source of the problem.
The 6 most common reasons why your electric snow blower won’t throw snow:
- Worn snow blower paddles
- Loose or broken drive belt
- Defective auger cable
- Clogged snow blower chute
- Clogged impeller
- Broken shear bolt
Each of these problems has slightly different symptoms, but the biggest one is that each problem will prevent the snow blower from throwing snow normally. Below we’ll go through a breakdown of each issue, where it originates, and a few solutions to help correct it.
Worn Snow Blower Paddles
When you start inspecting your snow blower for throwing problems, you should first look at the snow blower paddles. Rubber paddles are the type of paddle that is usually found on standard, single-stage snow blowers. Over time, blowing snow from rough surfaces such as asphalt and cement will wear the paddles down, causing them to throw snow inconsistently.
How To Tell If Snow Blower Paddles Are Worn
Many snow blower paddles have wear indicator holes incorporated into their design. These wear indicators are designed to let the user know when the paddles have been worn to the point they need replacing.
Here are a few other symptoms that your snow blower’s problems may be related to worn snow blower paddles:
- The snow blower isn’t blowing all the snow. If your snow blower is leaving behind snow when you use it, worn paddles could be a cause.
- The snow blower isn’t throwing snow as far as it normally does. If the arc of thrown snow on your snow blower seems weak, it could be related to worn paddles.
If your snow blower’s paddles are worn, it’s a relatively easy fix. This part is meant to be replaced once it wears out.
How To Replace The Paddles On A Snow Blower
If you’ve determined that worn paddles are the most likely suspect for your snow blower problems, you can replace them yourself if you get the replacement parts.
Before you start working on your snow blower, take any necessary safety precautions (Source: Weingartz): For instance, shut the snow blower down. Turn the snow blower’s motor off and allow it to cool completely before attempting any repairs on the machine.
An active snow blower can cause serious injury if you don’t ensure it’s entirely powered down before performing repairs. Once you’ve made sure the snow blower is dead, it’s safe to begin working on the paddles:
- Disconnect the paddles. The paddles are held in place on the snow blower with nuts and bolts, so use a wrench and a power drill to remove the nuts and bolts and free the paddles from their seating. Remove the old paddles from the snow blower.
- Place the new paddles. Positioning the new snow paddles thread-side up, put them in the seating where the old paddles sat and attach them using the bolts and nuts from the old paddle set.
While you’re replacing the snow blower paddles, you should also look at the scraper bar in the same area of the snow blower. This part wears at the same rate as the snow paddles, so if they need replacing, chances are the scraper bar does too. Replace the scraper bar by unbolting it from the snow blower and putting a new scraper bar in its place.
Loose Drive Belt
Another issue that can keep an electric snow blower from throwing snow correctly is a loose drive belt. The drive belt is the part of the snow blower that activates the traction drive system. The drive belt operates based on a pulley-and-belt system that transfers energy from the motor to the wheels of the snow blower.
If the drive belt comes loose or breaks while you’re using your snow blower, it’ll keep the snow blower from being able to move forward or throw snow.
How To Tell If the Drive Belt Is Faulty
When the drive belt on your snow blower is loose, you may notice the following symptoms:
- Burning rubber smell or smoking
- Blower attempts to move forward, but judders.
- Vibrations in the snow blower
If the drive belt has become loose or out of adjustment, it’s important to note that most snow blower drive belts are not adjustable. Instead, you’ll need to remove the old drive belt from the snow blower and replace it with a new one.
How To Replace The Drive Belt
To replace your snow blower’s drive belt, perform the following:
- Remove the belt cover. Refer to your owner’s manual if you’re not sure where the belt cover is on your specific snow blower model.
- Locate the drive belt. The drive belt should be located relatively close to the snow blower’s motor. If you can’t find it, check the owner’s manual for a clear diagram of its location.
- Replace the drive belt. Remove the loose or broken drive belt and add a new drive belt in its place. Adjust the drive belt to a tightened position to prevent it from sliding, then replace the belt cover.
A drive belt is one of the more accessible parts to replace on a snow blower unless you have a snow blower that operates on a hydraulic (hydrostatic transmission) system. If your snow blower is hydraulic, it’s not recommended to replace the snow blower’s components yourself. In this case, the parts are not easily found, and you usually need specialized tools to perform the repairs. With an electric snow blower, however, this won’t be a problem.
Auger Cable Out Of Adjustment
As with the drive belt, a major secondary symptom of your snow blower auger cable being out of adjustment is the smell of melting or burning rubber. When the auger cable has come out of adjustment, this can cause excess friction between the belt and the snow blower interior.
What Is An Auger Cable On A Snow Blower?
The auger cable on a snow blower is responsible for connecting the engagement lever and the control lever on a snow blower’s auger drive system. If your snow blower auger won’t activate during operation, this is usually the result of a damaged auger cable or one that has come out of adjustment.
Like the snow blower paddles and drive belt, the auger cable is a part recommended for replacement if it shows damage or loosening.
How To Replace The Auger Cable On A Snow Blower
If your snow blower’s snow throwing issues lead back to a bad auger cable, you can replace it with a stock auger cable recommended by the manufacturer. To replace the cable, perform the following (Source: Sears Parts Direct):
- Remove the belt cover. The cover will be screwed down onto the housing of the snow blower, so you’ll need a socket wrench to take it off.
- Detach the auger belt from the control lever. Detach the upper bolt from the cable guide pulley bracket, then loosen the bottom bolt and pull the bracket out far enough to loosen the auger cable. Lift the Z-fitting away from the control lever.
- Detach the cable guide pulley and release the cable from the cable guide pulley bracket. Once you’ve released the cable from the pulley bracket, you should be able to pull it free from the snow blower.
- Install the new auger cable. Place the new auger cable on the cable guide pulley and reinstall the pulley bolt. Connect the Z-fitting of the auger cable to the control lever. Reinstall the pulley brackets before replacing the belt cover.
Replacing the auger cable on your snow blower is a tricky repair if you haven’t worked on motors before. Consult your owner’s manual if you aren’t sure where the auger cable is located or how to remove it safely.
Clogged Snow Blower Chute
A clogged snow blower chute is one of the simplest issues that can cause an electric snow blower not to throw snow. Two major issues can cause a clogged snow blower chute:
- Heavy snow: Some electric snow blowers may not be powerful enough to handle large amounts of heavy, wet snow. If you try to use a light-powered snow blower on heavy snowdrifts, this may cause the snow blower to bog down and get clogged.
- Walking too slow: If you walk too slow with your snow blower, this can cause it to clog. If you can’t clear snow with your blower without walking slowly, you may require a more robust snow blower with a higher output.
The solution to a clogged snow blower chute is to unclog the chute and lubricate it so that clogging is less likely to reoccur.
How To Safely Unclog A Snow Blower Chute
To fix a clogged snow blower chute, perform the following (Source: Replacement Commercial Parts Warehouse):
- Remove power. As with any snow blower repair, ensure that the battery is disconnected and the snow blower is unplugged from any potential power source.
- Use a tool to clear the shoot. Use a stiff-bristled paintbrush or a thick piece of dowel to clear the snow blower chute of any compacted snow or gravel that may be clogging it. Note: Do not use your bare hands to clear a snow blower chute.
- Lubricate the snow blower chute. Spray a non-stick snow blower chute spray on the interior of the chute to help prevent it from becoming clogged with snow again.
Since a clogged snow blower chute is one of the most straightforward problems to fix if it’s impacting your blower’s ability to throw snow, it’s one of the first potential causes you should look at when trying to troubleshoot a snow blower problem. Clearing a snow blower chute is much simpler than trying to replace a drive belt or auger cable.
Defective Impeller
If the impeller on your snow blower is broken or jammed, this can prevent the snow blower from throwing snow correctly. The spinning impeller on two-stage snow blowers is used to discharge snow through the snow blower chute.
If the snow blower impeller becomes broken or bent, it will jam up and prevent snow from being discharged through the snow blower chute. The only solution for a bent or broken impeller is to replace it.
How To Replace An Impeller
To remove the defective impeller and replace it with a new impeller, perform the following after ensuring that the snow blower is unpowered (Source: Repair Clinic):
- Remove the belt cover and pull it off the snow blower.
- Remove the belt guide and pull the guide off the snow blower.
- Remove the blower housing from the frame.
- Remove the auger drive belts.
- Set the pulley and spacer aside.
- Remove the rake assembly and pull it out. The assembly is heavy and unwieldy, so take care in this step.
- Remove the mounting pens securing the impeller.
- Pull the old impeller off.
- Mount the new impeller. Line up the holes on the impeller with the holes on the impeller shaft. Replace the mounting pins to secure the new impeller. Insert the gearcase shaft through the hole in the snow blower’s frame.
- Align the gearcase and support bracket. Secure the bolts for both.
- Align the rake supports with the blower housing. Secure the bolts.
- Replace the spacer and pulley. Re-align the auger belts on the pulley.
- Reconnect the snow blower housing with the snow blower frame.
- Reconnect the auger belts to the drive shaft.
- Secure the blower housing to the frame and reinstall the belt guide.
- Replace the belt cover and secure it.
Replacing the snow blower impeller can be one of the more complex repairs you perform on a snow blower.
If you suspect that the impeller on your snow blower has been damaged, it may be worth your while to contact a technician who works on electric snow blowers. Since replacing the impeller requires significant disassembly of the snow blower, you should avoid it unless you’re confident you can put it back together correctly.
Broken Shear Bolt
The shear bolt on a snow blower is designed to break as a way to protect the snow blower motor from damage if the blower hits a rock or a hard chunk of ice. This weak bolt connects the auger to the auger shaft and is made to give way easily if it encounters an obstacle that may damage the auger gearcase.
In most cases, you can determine that your snow blower has broken a shear bolt because of the way it starts throwing snow. Rather than processing snow normally, a snow blower with a broken shear bolt will seem to push snow around. You may also notice snow building up on either side of the auger housing.
If the shear bolt on the auger breaks, the auger shaft will spin, but the auger itself will not. This means that snow will not get thrown or processed through the snow blower. Eventually, the drifts of snow building up on the front of the snow blower because of this will bog down the blower and increase resistance until it becomes impossible to move forward.
How to Tell If a Snow Blower Shear Bolt Is Broken
Once you suspect that your snow blower shear bolt is broken, the easiest way to confirm it is to do a visual inspection. To inspect your snow blower shear bolt, turn the snow blower off and let it cool completely before touching it, ensuring that it is disconnected from power. Ensure that all interior parts have stopped moving.
Visually inspect the auger. If you can’t see the head of the shear bolt and the auger can be easily manipulated along the auger shaft, this is an indication that the shear bolt is broken.
How to Replace a Snow Blower Shear Bolt
The good news is that if a snow blower shear bolt is why your snow blower isn’t throwing snow, it’s simple to repair. The shear bolt is designed to be easily replaced since it is a throwaway part meant to be sacrificed to protect the auger and gearcase. It’s wise to keep a few replacement shear bolts on hand so a broken one can be replaced quickly in a pinch.
To replace a shear bolt on your snow blower, perform the following:
- Prepare the snow blower for repairs. Disconnect the snow blower, move it to an indoor area such as a garage, and wipe the auger shaft down of any excess snow so that you can see what you’re doing.
- Remove the broken shear bolt. Typically when a shear bolt breaks, half of it will fall out while the other half is stuck inside the auger shaft. Remove the broken shear bolt by slowly turning the auger to align the auger holes with the auger shaft holes. You can use a thin tool such as a screwdriver to push the broken bolt loose.
- Insert a new shear bolt. Keep the auger and auger shaft aligned so that their respective holes line up, and then place a new shear bolt where the old bolt was removed. Secure the shear bolt with the nut and hand-tighten it. Be sure not to over-tighten the shear bolt since this can cause it to fail prematurely.
- Test the auger. Once the new shear bolt is installed, try turning the auger. The auger and the auger shaft should turn simultaneously if the new shear bolt is working as it should.
When you replace the shear bolt on your snow blower, be sure to get a shear bolt specified to the torque recommended by the snow blower manufacturer. If you get a shear bolt at a higher torque than your snow blower, you could potentially cause serious damage. (Source: Ariens)
When to Avoid Fixing an Electric Snow Blower

Depending on how serious the repairs needed by your snow blower are, you might not want to undertake the fix yourself. Many of the issues listed above are covered under a manufacturer’s warranty, so if your snow blower is less than a year old, you might consider turning it in for OEM repairs rather than attempting them yourself.
It’s also practical to avoid home repairs on your snow blower if you don’t have the proper tools or knowledge to perform the repairs safely. While many snow blower repair tutorials specific to different models are available online, it’s easy to cause damage to your snow blower if you take it apart without knowing what you’re doing.
Always consult your owner’s manual before attempting any repairs that involve removing the blower housing and accessing the mechanical components inside the machine. When in doubt, don’t be afraid to turn your machine over to a professional. While some repairs for snow blowers, like a clogged chute or a broken shear bolt, are easy fixes, others are much more complicated.
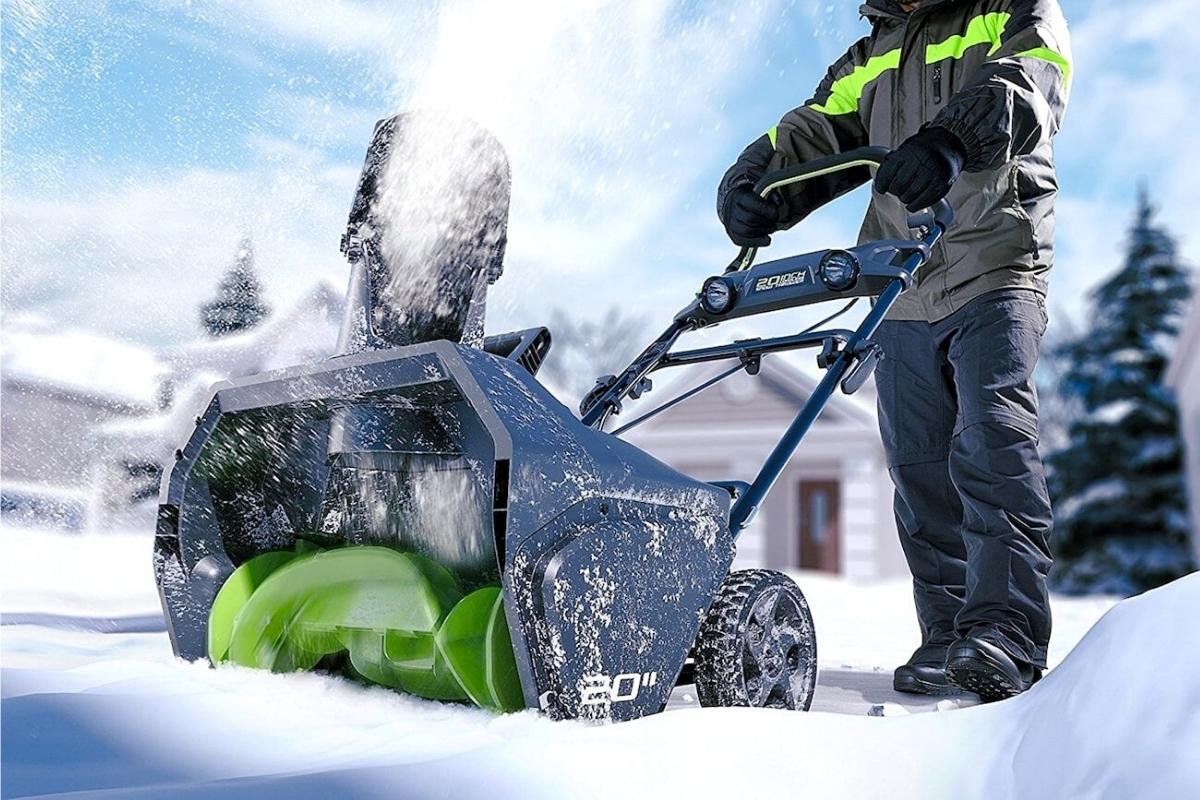
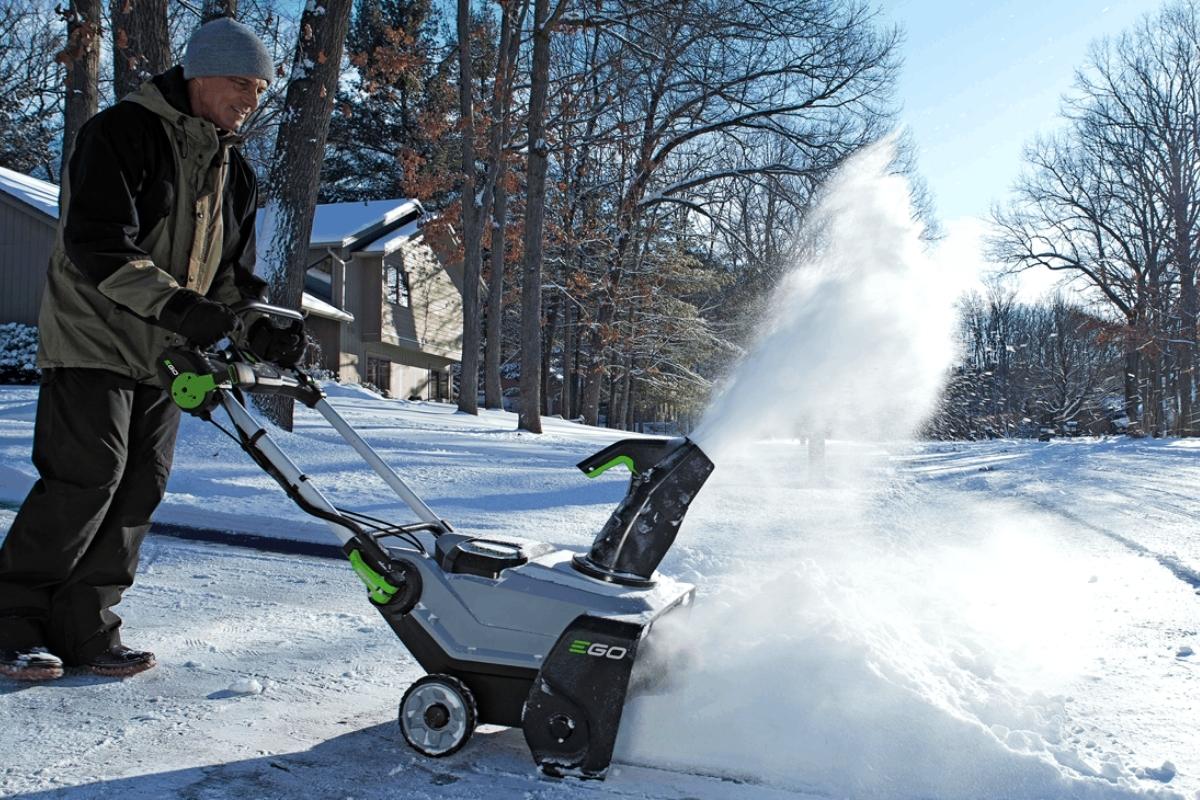
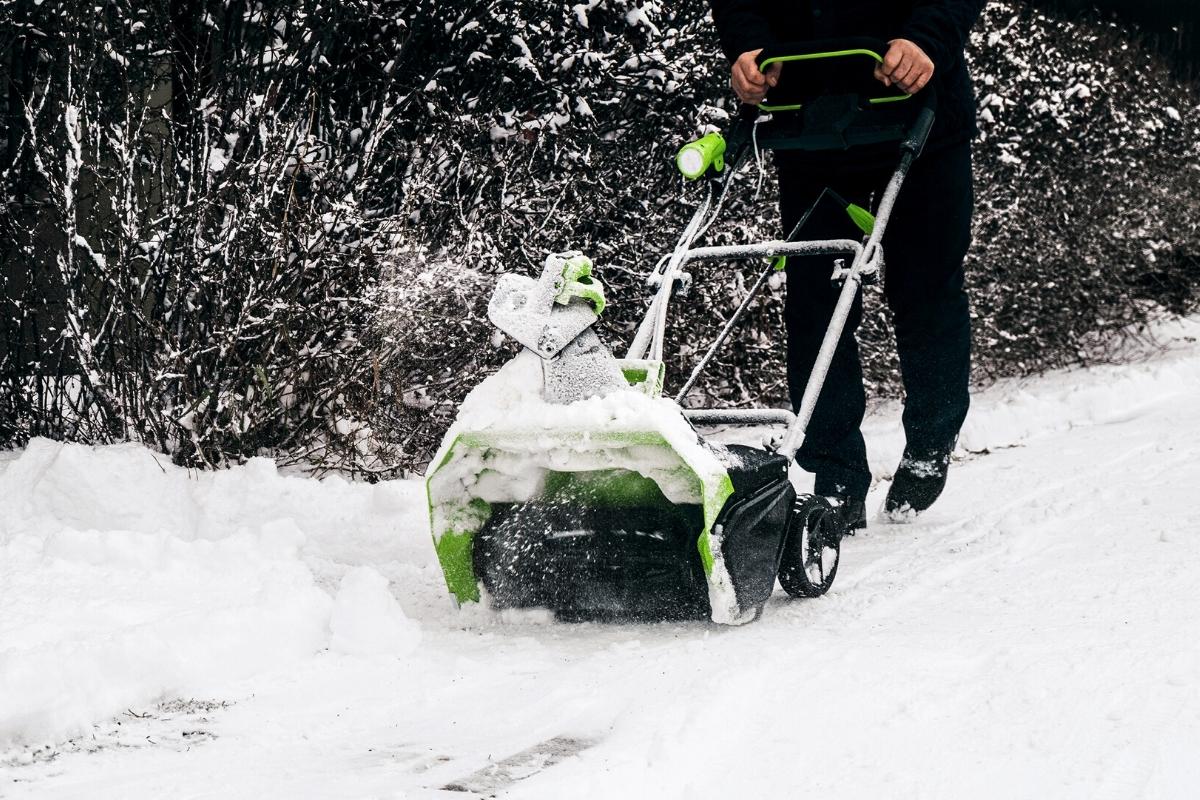
Recommended Snow Blowers And Products
Below are a few of our top picks for electric snow blowers. If your snow blower is beyond repair, or you are just looking to upgrade, be sure to take these into consideration.
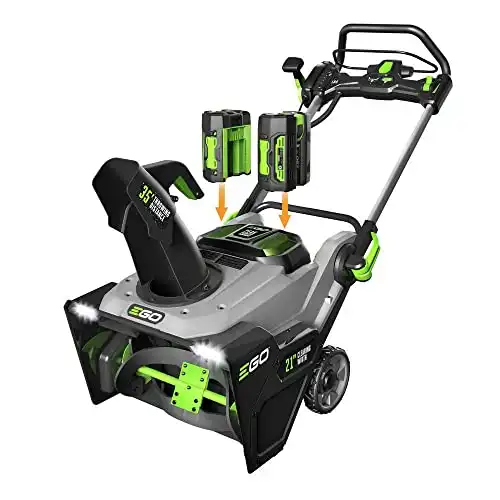
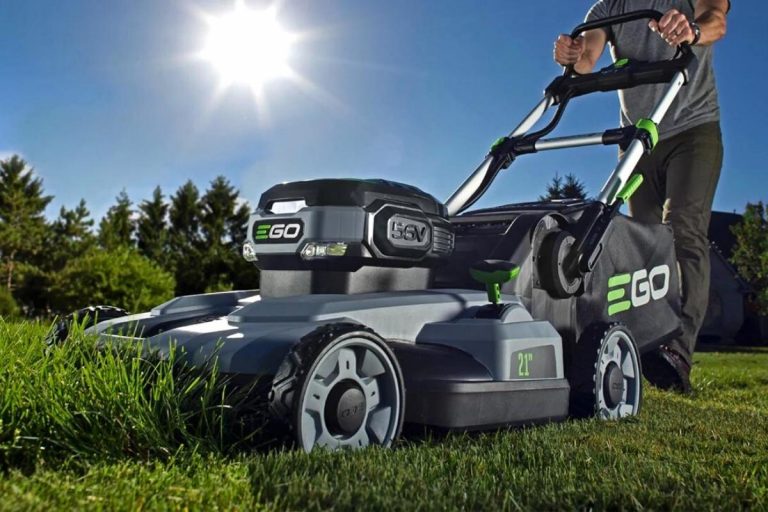
- Peak power technology combines the power of 2 ego power plus 56-volt batteries
- 21-inch clearing width, clears 8” Snow in 10 Car Driveway
- Push-button start
- Up to 35 feet snow throwing distance
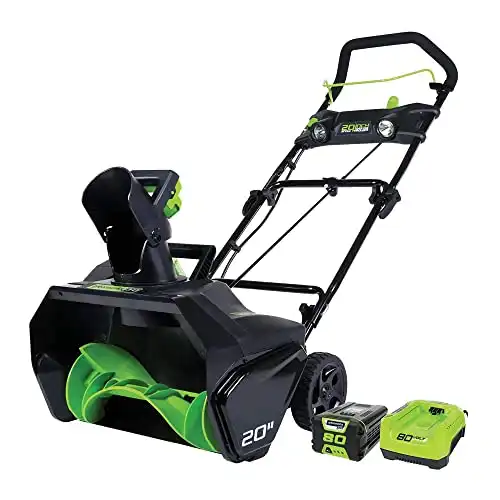
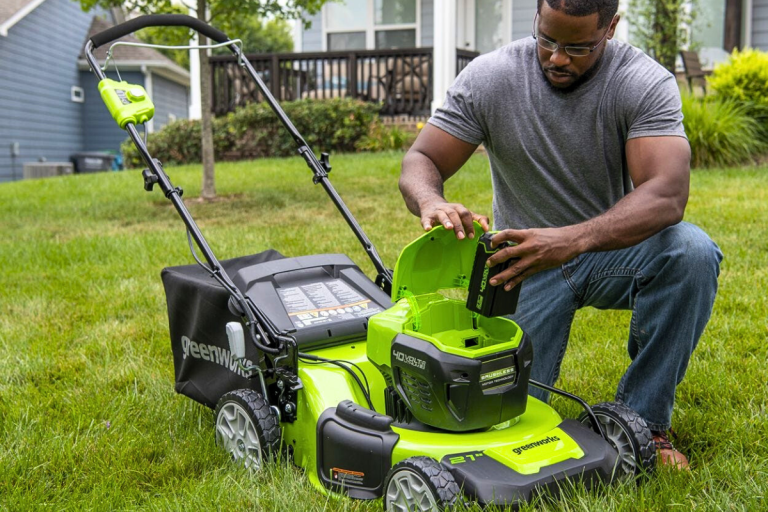
- Ultimate performance 80V Li-ion systems delivers greater efficiency with up to 45 minutes of run time with 2.0 Ah battery
- Quiet, maintenance free brushless motor technology
- Quickly clear your driveway, sidewalks, patios, etc with a 20 inch clearing path
- Up to 10 inch of clearing depth
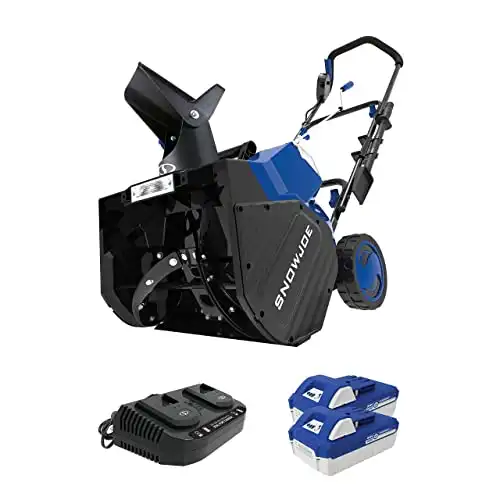
- 1200 W brushless motor clears up to 14 tons of snow per charge
- 2 W LED headlight lights up the night for safer nighttime clearing
- 4-blade rubber-tipped steel auger clears a path 18” wide x 10” deep in a single pass
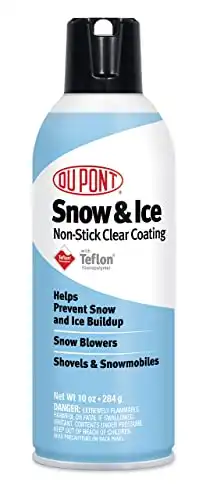
- Prevents snow and ice buildup, frozen doors and clogged augers and chutes
- Non-stick clear coating formulated with Teflon fluoropolymer and silicone to ensure optimum non-stick performance
- Apply to snow blowers, door gaskets and snow shovels
Conclusion
Even if you’ve never worked on your power tools at home, performing minor repairs on your snow blower is a smart way to become more confident and familiar with this type of home improvement. Try using the troubleshooting guide above to repair your snow blower at home before you go through the expense of paying someone else to do it.
If you need to move on from your machine, check out the electric snow blowers listed above, or visit our Recommended Yard Tools page to see all of the top electric mowers, blowers, and more.