How To Fix An Electric Weed Eater That’s Not Spinning
If your electric weed eater isn’t spinning, don’t worry – you’re not alone. This is a common problem that many people experience with these tools. In this blog post, we will discuss some of the most common causes of this issue and how to fix them. We will also provide some tips on preventing this from happening in the future.
Issues That Cause A Weed Eater To Stop Working
There are a few problems that could occur that would cause your weed eater (weed wacker, electric trimmer) to stop spinning. Below we will cover each, and help you to get your tool back up and running.
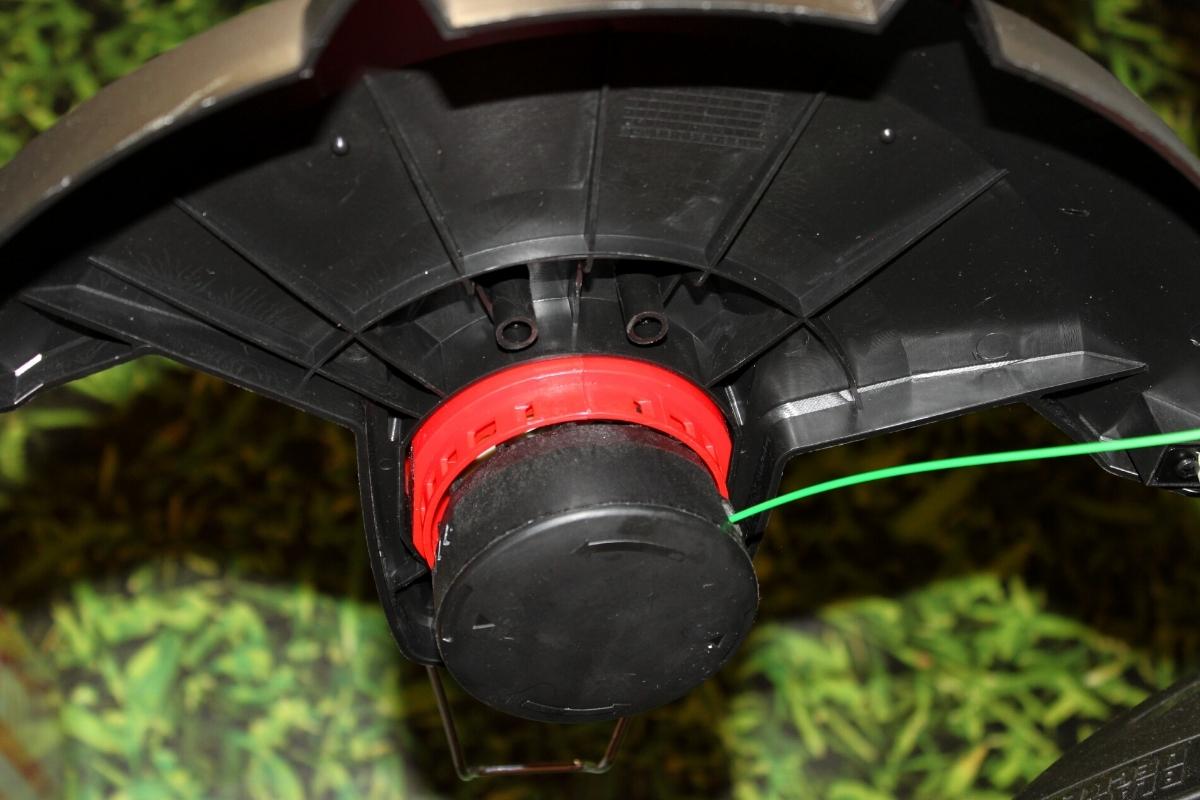
Organic or Other Materials Built Up On the Shaft
Before you grab your toolbox and start taking apart your weed eater, it’s essential to understand what could be causing the problem. One of the most common reasons why an electric weed eater stops spinning is because there are organic or other materials built up on the shaft.
Over time, dirt, debris, and even plants can become wrapped around the shaft of the weed eater and become so tightly wrapped that the eater head won’t move.
Therefore, the first thing you should do is pop off the head of the tool and cut off any plant material or other debris that is wrapped around the shaft. If there is a lot of built-up material, you may need to use a utility knife or something similar to get it all off.
Once you’ve removed the debris, put the head back on and try rerunning the weed eater. In most cases, this will fix the problem, and you won’t have to do anything else.
Blocked Air Filter or Spark Accelerator
If the weed eater is still not spinning, there may be an issue with the air filter or spark accelerator. First, check the air filter to see if it is clogged. If it is, clean it off with a brush or compressed air and then try rerunning the weed eater.
If the air filter is not the issue, there may be an issue with the spark accelerator. First, check to see if the spark accelerator is dirty or damaged. If it is, clean it off or replace it and then try rerunning the weed eater.
If you don’t know where the air filter or spark accelerator is, or you’re unsure how to replace them if they’re damaged, don’t worry. Most weed eater manufacturers include all this information in the manual, including steps on how to replace them.
The Drive Shaft Has Broken Down
If your weed wacker’s motor is running but the shaft isn’t spinning, the drive shaft has likely broken down. So the first thing you’ll want to do is check for any visible damage to the shaft. If there is visible damage, you’ll need to replace the shaft.
There might be an issue with the centrifugal clutch if there is no visible damage to the drive shaft. This is a common problem with weed eaters. The centrifugal clutch is what engages the shaft when you pull the trigger.
Sometimes, the clutch sticks in the inoperative position, which typically happens because of dirt buildup or wear of the engine housing.
How To Fix Your Weed Eater
To be sure whether it’s the drive shaft or clutch causing your weed eater not to spin, follow the servicing steps below:
How To Fix A Weed Eater
Approximate Time: 20 minutes
Let It Cool Down
Place the trimmer on a flat surface and allow the engine to cool down for 10 to 15 minutes to avoid burning yourself. Ensure the engine has no way of accidentally starting again while you do this. The easiest way to immobilize the engine is to remove the spark plug.
Open The Handle Housing
Use a screwdriver to remove the screws that hold the handle housing to the drive shaft. Force open the handle parts and slot out the throttle lever from the handle. Try and drag the throttle cable from the lever using a pair of needle-nose pliers, and follow this up by taking off the handle housing.
Remove The Driveshaft From Engine
Unscrew the screw where the drive shaft and engine housing meet. Drag the driveshaft and free it from the engine.
Remove The Clutch Cover
Unscrew the clutch cover of plastic from the face of the engine housing, revealing the clutch assembly.
Remove The Clutch Housing
Use a socket wrench to unscrew the screws that hold the clutch housing to the engine crankshaft. Drag this off to reveal the clutch plate. Next, unscrew the bolts that hold the clutch plate and the flywheel together and do away with it. Afterwards, substitute the plate and the housing.
Replace The Clutch
Replace the clutch with a new one by reversing the directions you used to remove the broken one. Once it’s secure, put back the clutch lid and drive shaft and ensure they seat appropriately in their position.
Reassemble
Replace the retaining screw, attach the throttle cable and level, hook up the lever with the drive shaft and substitute handle housing.
Pro Tip: You may be able to fix the clutch by cleaning the springs and shoes on the clutch plate using acetone and lubricating them with penetrating oil. However, if you decide to do this, ensure you keep the oil away from the surfaces of the shoes that come into contact with clutch housing.
Once you’ve followed the steps above, your electric weed eater should be in good working order. If it’s not, you may need to replace your weed eater. However, before you do, it’s always a good idea to consult with an expert to ensure that you’re making the best decision for your needs.
Conclusion
There you have it! These are just a few tips on fixing an electric weed eater that’s not spinning. By following these steps, you’ll be sure to get your weed eater back in working order in no time.
However, if you’ve tried everything in this guide and your weed eater isn’t working, it may be time to buy a new one. But be sure to consult an expert before you make your final decision. Your weed eater may have another issue you missed. So don’t pull out that wallet to buy another one just yet.
If it is time to move on from your current weed eater, check out our Recommended Electric Yard Tools to see our top picks!