How To Clean The Top & Bottom Of An Electric Lawn Mower
Cleaning your electric lawn mower is far different than cleaning a gas-powered mower. While it is easier to clean an electric mower without needing to worry about gas and oil spilling, there are still some important things to keep in mind.
If you start throwing water around on your electric mower, you could be in trouble. These mowers and batteries are new technology, and finding someone to repair them is a Herculean feat. But don’t let that stop you from keeping your mower clean! Read on and learn all you need to know about cleaning the top and bottom of your electric mower.
How to Clean The Top Of An Electric Lawn Mower
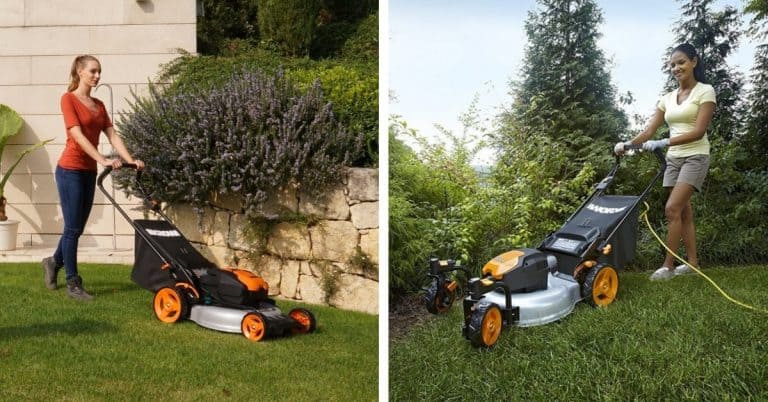
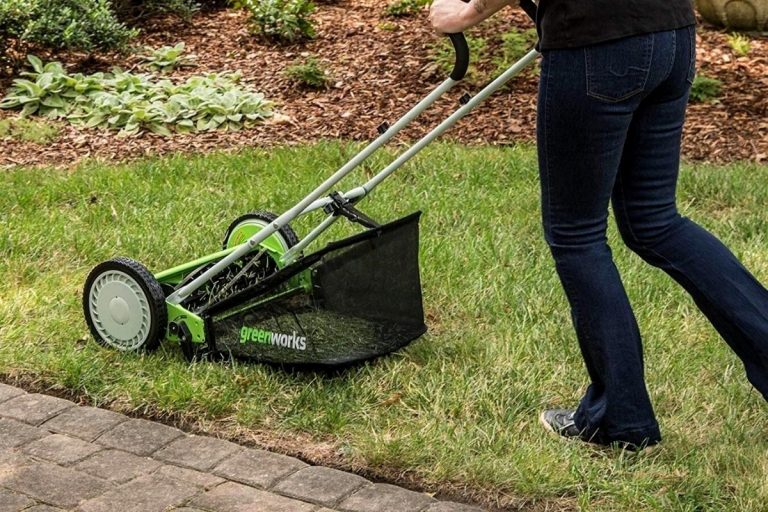
The electric mower is becoming common in homes across the country. The small pushable mowers are a favorite for people who have smaller yards and don’t need a large amount of grass maintained. While not as used as industrial, these mowers will require maintenance, and cleaning them will be a crucial part of their livelihood.
Some tools to round up before washing your electric mower are:
- Screwdriver – You will need a screwdriver to remove some of the electrical connections on the mower. These electrical connections could be snapped or screwed into the machine, and having a way to get them open is imperative. This is also useful to pry stuff loose, which will come in handy later.
- Washing Supplies – The next thing you should do is round up your washing gear. The soap mitt and a good stiff brush are tools you must have. These mowers will have the same clean-up as a gas mower. Don’t skimp on getting the body clean. The batteries are the thing to worry about.
- Pliers – A good set of pliers could be needed to help remove the clamps on the batteries. The pliers could also be used to keep the mechanical pieces of the mower in place as you move it around to clean it. In addition, the blade could move while cleaning using the pliers, so they can save you from knicks and cuts.
- Protection – Being safe while working with mowers will require that you take protective measures. Wearing gloves and eye protection are the best ways to prevent injuries during maintenance. In addition, the blade is sharp, and the chemicals you clean with could be harmful to the eyes.
The top of your electric mower will need just a few things adjusted before cleaning. By getting the tools you need beforehand, you save yourself a headache. The tool list above is a guideline, and your mower could require some things that are not on the list. Be prepared to go foraging for extra stuff if you need them.
Remove Batteries
The batteries are some of the most critical parts of the mower. They are what drive the motor and allow the blade to spin. If they get water inside them, they could be in for a lengthy rehab process or be ruined. Removing the batteries before you get the mower wet protects it from undue damage.
The batteries on your electric lawn mower are highly critical to the machine. They are what drive the motor, and their charge will determine several things like how much you can mow and how many hours you need before recharging. Maintenance of the batteries is essential and should be done with every use.
A few ways that the batteries can be removed are:
- Screws – One of the most common ways that batteries are installed in the mower is by screwing them into the body of the motor. Often, these screws are attached to the batteries themselves, making it easier for the owner to remove them for cleaning or replacement.
- Bars – A bar is a generalized term for a piece of plastic that rests over the battery cage. This bar keeps the batteries in place and keeps their power flowing to the rest of the machine.
- Lock – A lock is a switch that will move up to release the battery and will act to hold it in place. The difference between a lock and a bar is that the bar is removable, whereas the lock only rotates or flips to lock into place.
The ways to keep the batteries in place could be laughably low tech. For example, most electric mower motors have batteries designed to lock into place. The companies add these safeguards at the factory due to standards set by the government.
Remove Accessories
Electric mowers are gaining popularity, but they are also becoming outfitted with top-of-the-line accessories. They could have ways to save cuttings or improve the movement of the machine that could interfere with cleaning the top of the device.
Do yourself a favor and take pictures of the attachments on the accessories before you remove them. This will save you a headache when it comes to attaching them on the downslope of this cleaning project.
Some of the accessories that might be attached to your electric mower are:
- Bagger – A bagger is something that could be connected to the mower. It keeps the lawn clippings inside and makes it so that you don’t have to blow or rake afterward. The bagger will have a bracket attachment on the exhaust side of the mower. Pry it open with your screwdriver and peel the housing back to expose the grass exhaust.
- Dethatcher – The dethatcher is another great accessory that could be attached to your mower. It is a row of steel teeth that pick up sticks and other larger pieces of debris. These attach to the front of the mower and will have a bracket that should be easily removed with the screwdriver.
Riding electric mowers could come with other accessories that have intricate brackets or attachments. These will take a bit of figuring out, but once you see how they are removed, taking them off the following few times gets easier.
Wash The Electric Lawn Mower

Now that all the bells and whistles are taken off the mower, you can get to washing. Use a tough soap that can break through thick grass and dirt stains. There should be several good competitors in your local auto detailing aisle.
The steps to wash the top deck on your electric mower are:
- Ready the Bucket – Get your bucket and soap mitt ready. The bucket will be important because it needs to move with you as you work. Get something easy to carry and that won’t easily spill. Don’t be macho and fill a five-gallon bucket to the rim with soapy water unless you plan on ruining your mower. Use a shallow basin that is easily refillable.
- Use Water Pressure – The water pressure on your garden hose might not be enough to get the mower spotless but can go a long way to remove grass stains. Set it on the jet or heavy stream setting for best results if you have a nozzle.
- Use the Mitt – Using the mitt, go over every inch of the machine while keeping away from the exposed battery openings and the motor. Make steady circles, concentrate on the areas farthest from the motor, and work backward.
- Remove the Soap – The soap shouldn’t rest on the surface of your electric mower for very long. You should have a well of clean water on standby to get it off just as soon as you are done working. Leaving it on too long could remove the paint or harm the machine’s color.
- Dry the Machine – Most people walk away from their mower once the soapy water is rinsed. This is because conventional wisdom says to let the machine sit in the sun if any water gets on the inside. You can take a towel and get the job started, but giving it time to dry as well works best.
While Mower Is Drying
Now the top of the machine is cleaned. The job is at the halfway point, and by this time, you should be prepared for taking the mower and getting it ready to clean the undercarriage. A few things should be done before moving on that will improve the functionality and life of your mower.
A few things to do while the mower is drying are:
- Clean the Batteries – An excellent place for you to spend your time waiting for the mower to dry is on the batteries. These batteries are typically removable and provide a safe haven for stray dirt and grass. Clean the batteries and their ports to improve connection to the engine.
- Look for Flaws – As the mower dries, you can get a good look at the top deck and see if there are any flaws or visible problems. Cleaning has a way of revealing wires that could need to be replaced, or uncover failures in the engine.
- Spin the Wheels – While the mower sits, you need to ensure that all wheels are working and moving freely. Wheels that drag or stutter when moving could drag large hunks of grass from your lawn and leave it balding and unsightly.
Drying is an excellent time to find things that might need your help. Once the machine is dry, you can replace the accessories and get the machine ready to flip. It will need to be placed on its side for cleaning the undercarriage.
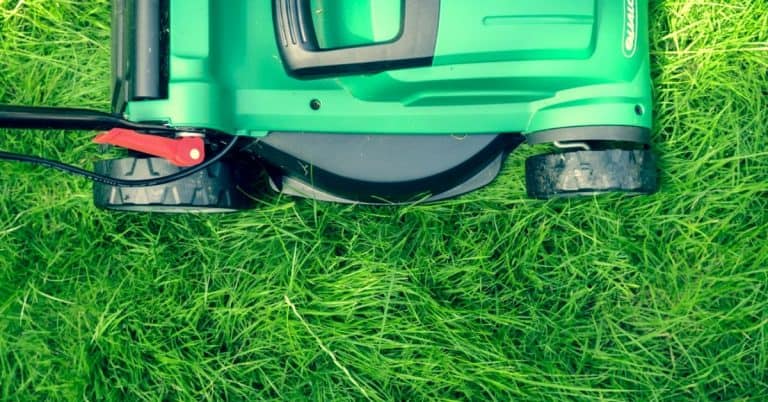
How To Clean The Bottom Of An Electric Lawn Mower
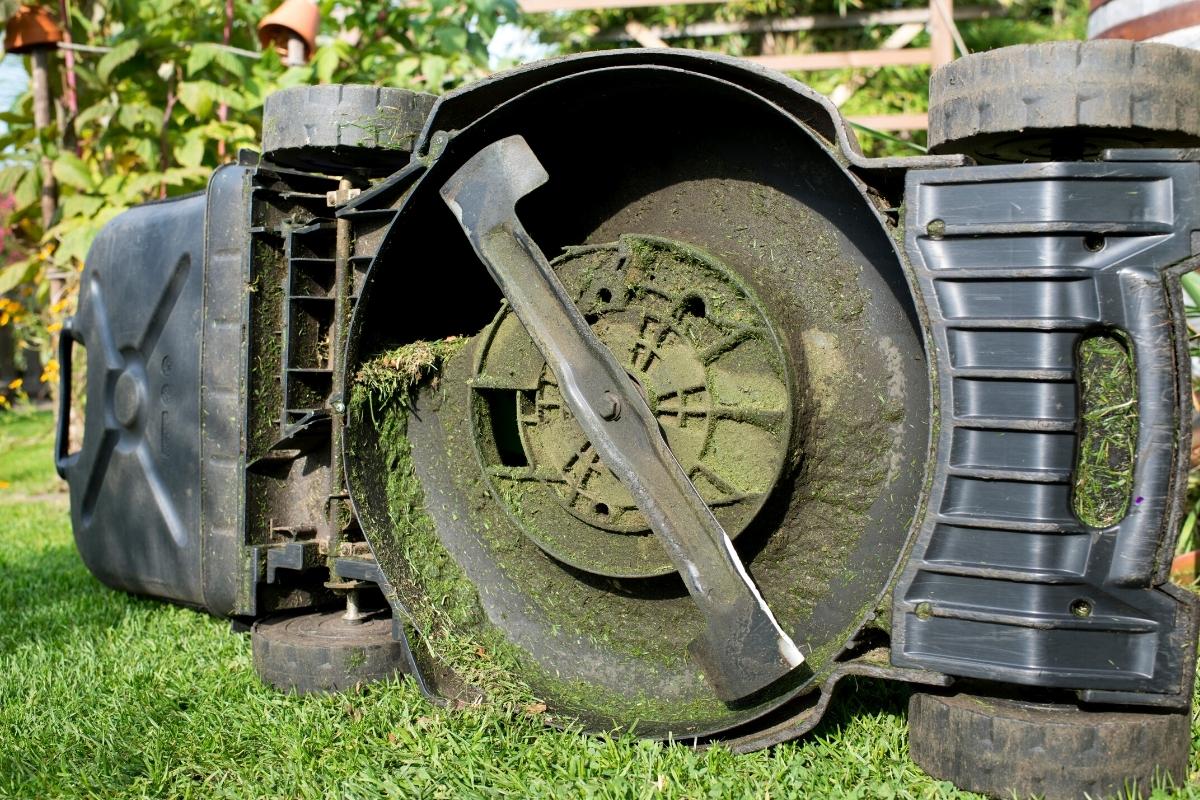
The bottom of your mower will take a substantial pounding. The mower blade is housed underneath, and when it spins, rocks, wood, and glass could be thrown up against the bottom of the mower. The deck above the blade and the area around the lip of the blade area need special attention.
Be prepared to use gloves for this portion of the job. The mower’s blade could be sharp to the touch, and removing it will require that you place your hands on the base of the blade and gently pull it upwards. Also, if it has been a while since you serviced the blade, it could take a bit of elbow grease to unseat the blade.
4 Steps To Cleaning The Bottom Of An Electric Lawn Mower
- Make a Prop – One of the first things you need to do is find something to prop up the mower against or create a wedge to keep it off the ground while giving you enough room to work. Choose something sturdy, as you don’t want the mower to fall over on you.
- Stop the Blade – One thing to check out is the blade’s movement. Some mowers will have a mechanism that forces the blade to stay in place when it isn’t operating. If it moves, you need a good C-clamp to secure it while you work. Once the blade is clamped down, you can get to work on the undercarriage.
- Back to the Bucket – Once you have your mower ready to clean, you should use the bucket from the top cleaning. This bucket should have clean soap that doesn’t have any impurities and a nice clean rag inside.
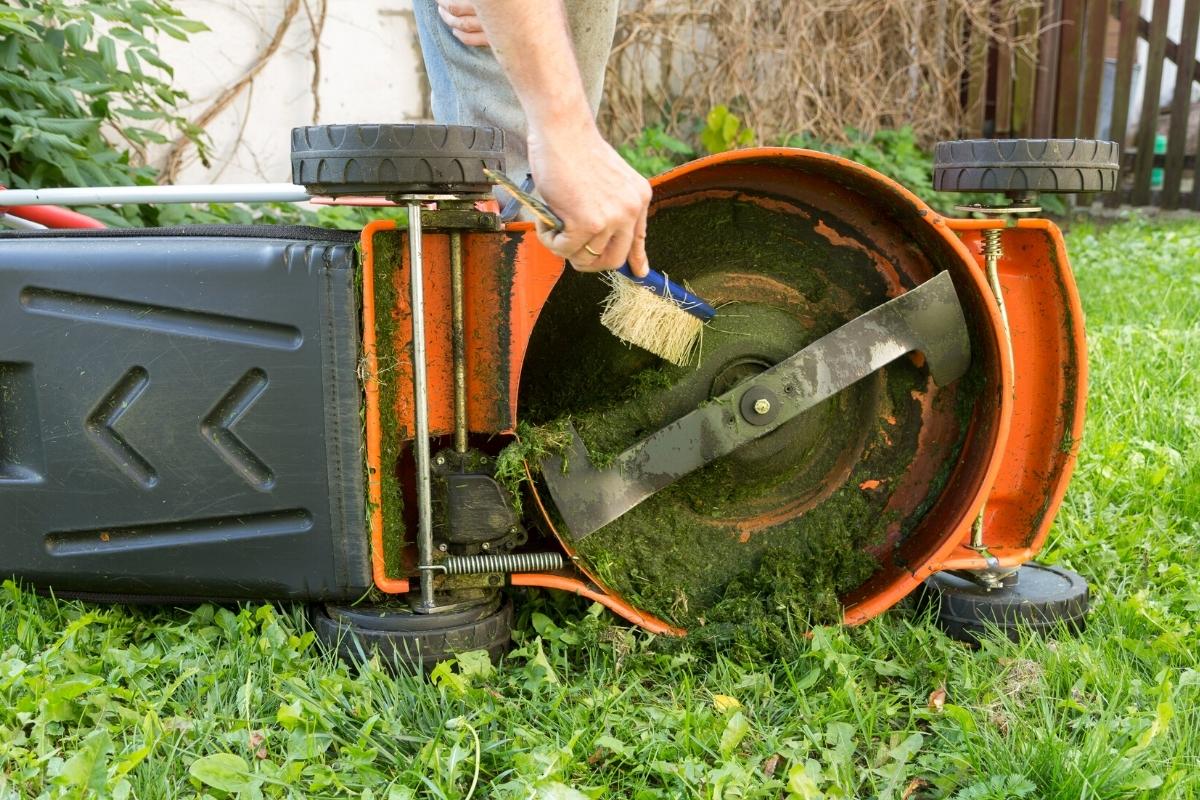
- Get Cleaning – Use a brush or a stiff rag to work on the undercarriage of the lawnmower. This area is going to be dirty. The metal inside the blade housing could be full of dimples and dents. Be careful to concentrate on where the blade rotates, as it will need some extra work to keep it moving freely.
The bottom of the mower is where the magic happens. You need to take particular time and care with this area. If you do not, the life of your electric mower is in serious jeopardy, and your yard will pay the ultimate price.
Please note that removing the mower blade could be a part of the process. The blade could have a release and a tiny locking mechanism, making it easier to pull on and off. If it doesn’t, bolts hold the mower to the motor mechanism and make it rotate. Use a wrench and some penetrating oil to get them moving.
Recommended Cleaning Products
- Non-Stick
- Designed with Cerflon, Ceramically-Reinforced PTFE
- Keeps grass & dirt from sticking
- Helps prevent rust & corrosion
- 2 blades in 1
- Quik-Knob pivots to rotate blade
- Attaches to extension pole to clean under lawn tractors
What To Do If Your Electric Mower Gets Really Wet
It happens from time to time. For example, you get a quick summer shower while mowing. For an electric mower, the rain can have some adverse effects that could mean the end of your machine. However, there are ways to ensure that your mower will survive the water and live to fight another day.
The ways to ensure your mower bounces back after a bout with water are:
- Open the Mower – Your mower should have an outer casing that protects the motor on the inside. It will take some prying with a screwdriver and possibly some help from the pliers. The case will come apart in pieces, and you should make a pile of the screws and parts so that you don’t lose them.
- Dry the Inside – The inside of the mower will need to be dried out with a towel, especially where the batteries are. If you have an air compressor, get in there and blow out all the parts. Take time to go over the machine several times to make sure the inside is dry. Any lingering water could be a problem down the road.
- Let it Sit – Once you are sure that the inside is dry as a bone, move it into a bright spot in the sunshine and let it sit. The machine needs to heat up outside to allow the circuitry on the inside time to dry. If the circuits are soggy, the electric circuit won’t transmit well, and the mower won’t run correctly.
- Electrical Testing – The next step could require someone with more electrical experience. Once circuits get wet, they tend to stop functioning. Testing a few specific places with a megohmmeter will give you all the info you need about the future of your electric lawnmower.
- Test Drive – The last part of the waterlogging process is to test out the mower. It should have been dried out well and been sitting in the sun for at least four hours before this point. Start the mower and give a few passes with it. If there is sputtering or ragged engine noise, you should stop the mower.
Once an electric mower gets wet, it could begin to show problems. By allowing the machine to dry and keeping it in working order year-round, you have a leg up against all the difficulties your lawnmower could throw at you.
Keep Your Electric Lawn Mower Generally Serviced
The best way to prepare your mower for any problems, water or otherwise, is by keeping it in top shape year-round. That seems like a monumental task until you understand that weekly and monthly jobs make this task a breeze.
These jobs are simple, but if you are unfamiliar with electrical engines and batteries, you might need to ask for some help or do a search on YouTube to help perform the tasks. Once the tasks are completed, the mower will run better, and the circuits on the inside will hum like a beehive.
Basic Electric Lawn Mower Maintenance
You can perform tasks on the mower after each use that will protect it from all sorts of things, not just water. By keeping a steady maintenance schedule, you prolong the life of your mower and save money on buying a new model every few years.
The tasks to perform on your mower after each use are:
- Clean Batteries – The batteries are an excellent place to start your maintenance each time. You will need to disconnect them from the motor. Once they are free, you need to wipe them down with a soft, dry towel and do the same to the area where the batteries attach.
- Tighten Up – Move around the machine and tighten up any loose nuts and bolts. By ensuring that all bolts are tightened, you protect the machine from failure and save yourself money in the long run.
- Work the Undercarriage – Another good thing to do after each use is to clean the area around the mower blade. The undercarriage must be clean to ensure that the blade moves freely around the mower. If not, the blade will cut unevenly, and your yard will look like you have trouble operating the mower.
- Grease the Wheels – This isn’t as common in newer models, but you should take a can of lube, like WD40, and make sure the wheels move freely. Wheels that get stuck will leave ruts in the yard and dig furrows if neglected.
The daily tasks of an electric mower concentrate on the areas that have the most usage. They ensure that the machine is in working order and will not have a critical failure that may harm the user or any bystanders.
Other Important Maintenance Needs
The tasks to perform every month are:
- Blade sharpening – This must be done by a professional unless you have the tools and know what you are doing. Having a sharp blade causes less stress on the motor and increases the machine’s life.
- Charge the Batteries – This might sound like a daily task, but charging the batteries should be done at least monthly. By allowing the batteries to die, you give them a chance to recharge and improve their life.
Monthly tasks are essential to the machine’s life, just like the daily ones. If you have a problem performing any of the functions, you should do your homework, and if all else fails, ask someone with knowledge of machines to give you a hand.
Conclusion
Cleaning the top and bottom of your electric mower is a breeze if you can keep the water away from the battery and engine. Wash the mower with a bucket of soap and a washing mitt. Use circles, and don’t splash any water into the battery sockets.
Be careful when cleaning your mower with water. If the insides do get wet, some precautions could save your mower. If you are unsure of the maintenance processes, check the owner’s manual or do a web search for your make and model of mower.
Keeping your electric lawn mower in good shape is important, be sure to keep up with regular maintenance and be sure to keep it stored correctly and it should last you a very long time.